


One of the reasons why Creo Parametric has grown in popularity among engineers is due to the software’s vast array of functionality. In this blog, we will be going through ten of the most useful features that not many Creo users are aware of.
1.) Shortcut Keys
Knowing your shortcut keys is one of the most effective ways to speed up your product design process. Creo parametric has a large set of predefined shortcut keys that can be used to your advantage. Some notable predefined shortcut keys are displayed below:
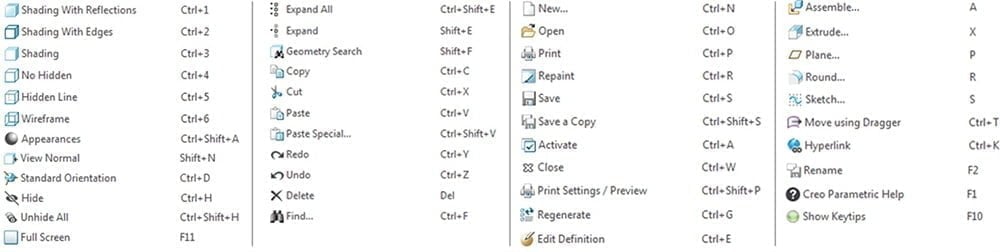
Another useful feature that Creo parametric offers is the ability for you to define your own shortcut keys. This level of customization allows you to avoid breaking any habits that you may have when using previous design software.
2.) Work with Creo Full Screen
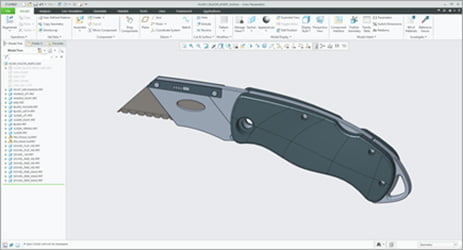
A convenient configuration for smaller screens is the ability to open Creo on a full screen. By setting the config option ‘open_window_maximized = yes’ Creo will open in full screen without the gap on the right-hand side.
3.) Intent Selection
Intent selection is where you can select geometry created in a feature, for example selecting all the side edges of an extrude feature.
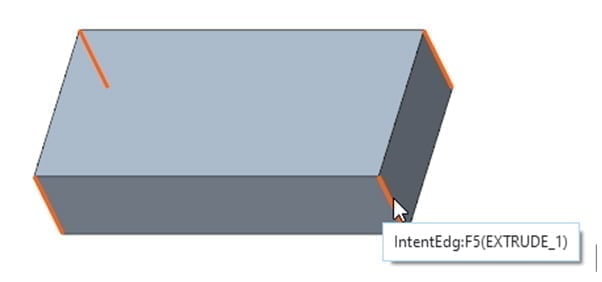
This is both quicker and can also make your model more reliable. In this example, if a round is added to the edges and the shape changes in the future from rectangle to triangle, the round will not fail.
To make an intent selection, put your cursor over one of the edges or surfaces and query select (tap your right-hand mouse button) until the other geometry highlights and then select with the left-hand mouse button.
4.) Add draft to surfaces containing Rounded Edges
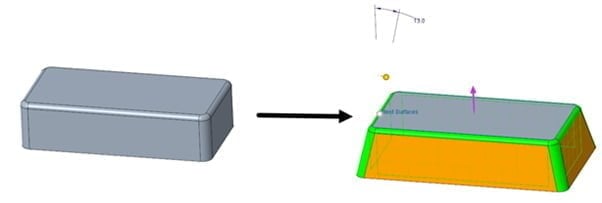
Draft can be added to models that already contain rounded edges. This can be very useful when applying draft late in the design as existing features do not have to be redefined.
5.) Sketch Region
Sketch regions allow areas of a sketch or multiple sketches to be used for features.
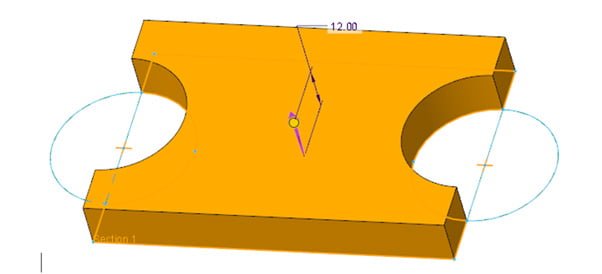
Put the selection filter onto ‘Sketch Region’ to allow the areas of the sketch to be selected.
6.) Re-Define Mirror Features
Mirror features can be redefined to add or remove mirrored geometry.
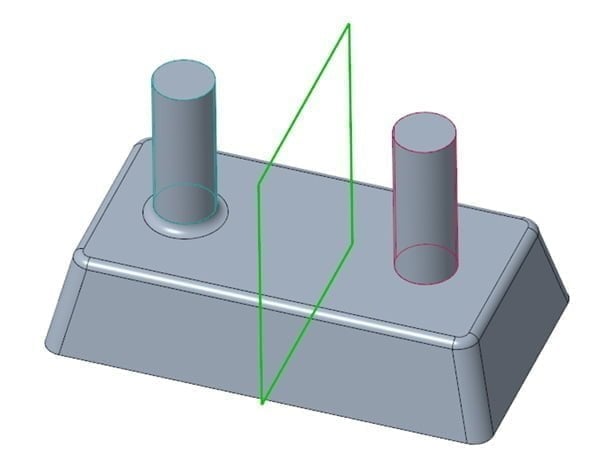
Redefine the mirror feature and select ‘Reapply Mirror’ to add or remove features.
7.) Mid Planes
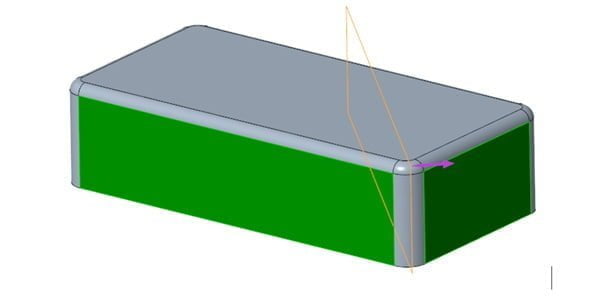
Datum planes can be created in the middle of a part by using the ‘Midplane’ option. These planes are driven by geometry, so if the geometry changes, the position of the plane will also change.
8.) Sweep Selection
To quickly select multiple models in an assembly, put the selection filter onto ‘Part’ and drag a box around the required components.
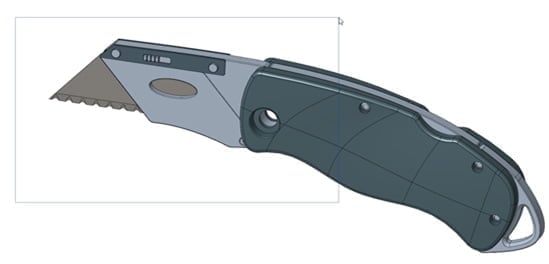
Dragging from left to right will select anything in the box. Dragging from right to left will select anything in and crossing the box.
9.) Automatic Reps
Use ‘Automatic’ reps to speed performance when loading large assemblies.
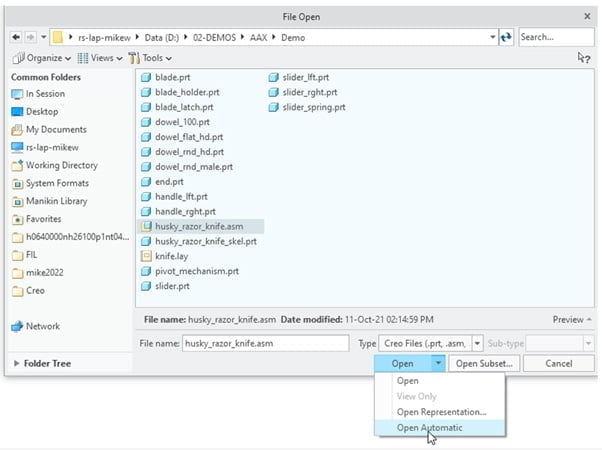
This can be selected from the ‘Open’ pulldown in the ‘File Open’ dialogue.
Automatic reps allow you to select geometry and assemble it, but they do not load the full model feature information. When you activate a model, the full information is loaded into Creo memory.
10.) Model Tree Search
Use the search tool in the model tree to find components within your designs.
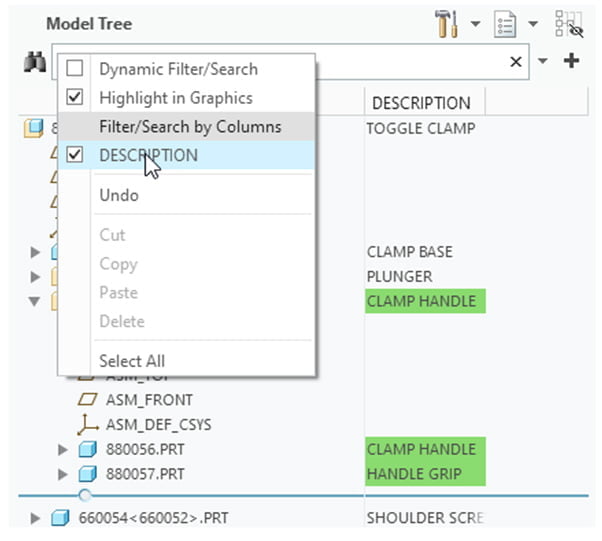
Conveniently, any displayed columns can also be searched instantly.
Reach out and talk to one of our experts!


